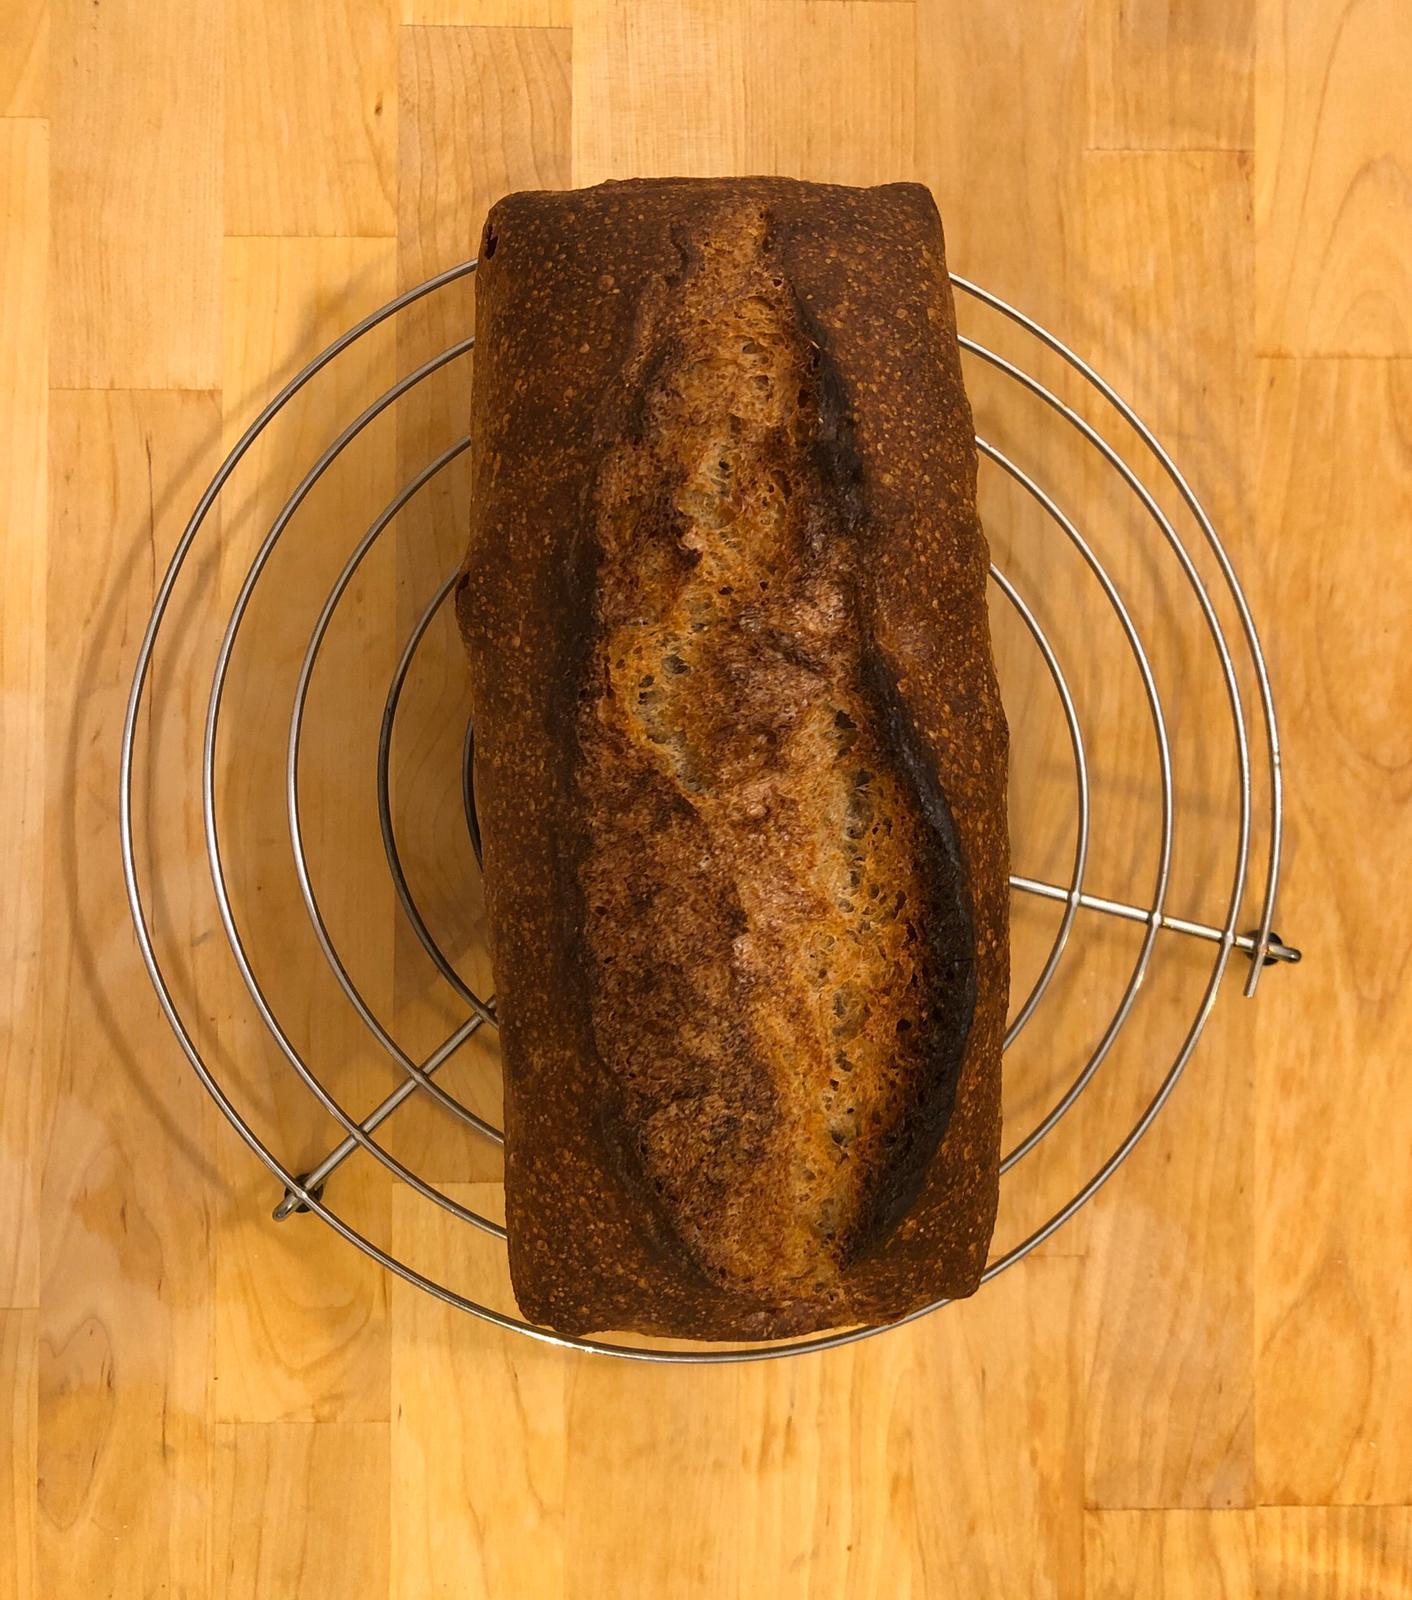
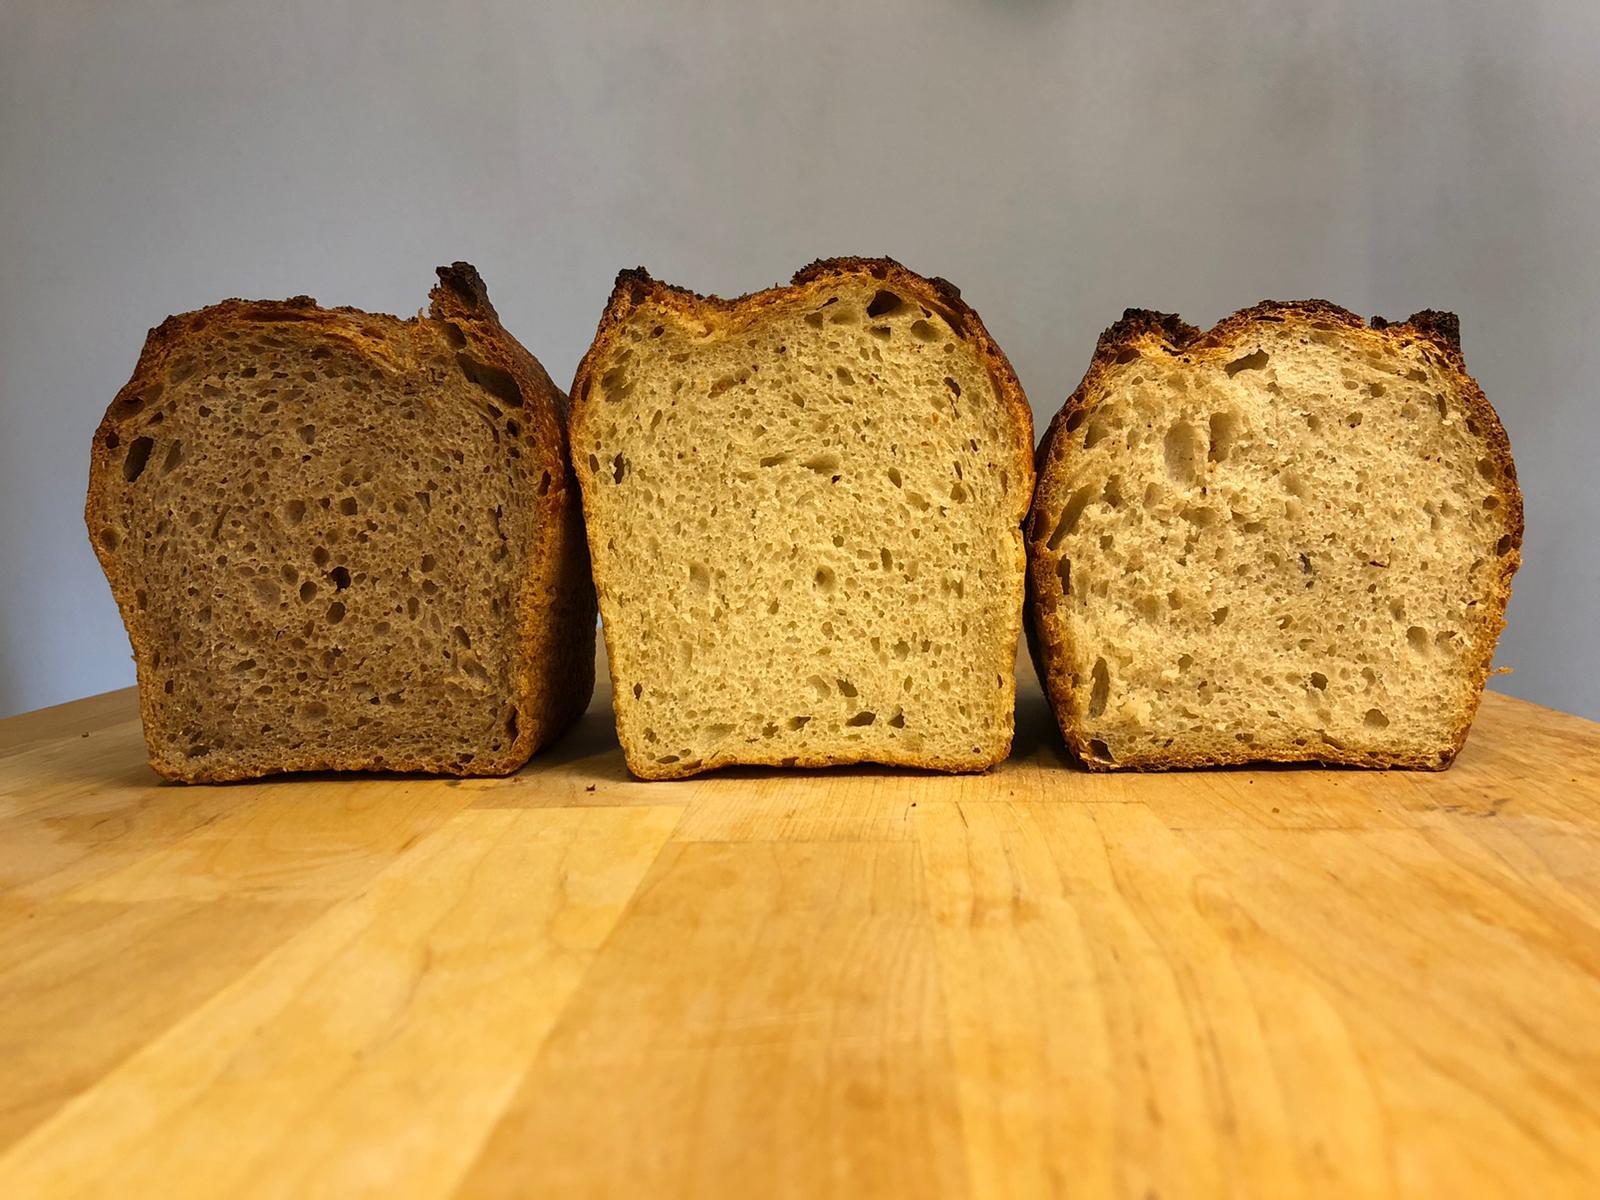
This is a recipe for a basic sourdough loaf and is designed to be easy to make at home. It is a great place to start if you haven’t made bread at home before, as it’s a no fuss recipe but gives a great result.
Your first step to creating your own sourdough bread at home is to make a ‘starter’ to kick off the whole process; click here to find out how you do that.
Similarly to the procedure for the sourdough starter, you can use wheat flour (white or wholewheat) or spelt flour, which I have become very fond of. I made one loaf with white ‘T650’ wheat flour and one using wholegrain spelt; both are Romanian flours easily found in the shops. When refreshing the starters for these breads, I used the white T650 for both loaves. But any wheat or spelt flour will work well .
You can make this bread with very little kneading, only one or two minutes are necessary to combine all the ingredients. We will then use the ‘stretch and fold’ technique (explained in the recipe below) to give strength to the dough, which will then help it to rise when baking. The stretching and folding takes place at 30 minute intervals, during the first half of the initial ‘proofing’ period (this is when the dough starts to grow and the gluten will continue to develop). Your bread will then proof for another two hours or so, until it almost doubled in size. After that, it will be ready to be shaped, put into the baking pan/tray and left to rise again.
Everything can be done by hand in the instructions below, but you can of course use a kitchen mixer with a dough hook attachment if you have one.
If you are using white flour, start with 240g water. If using a wholegrain, start with 260g. However, some brands of flour may differ!
For 1 loaf, cooked in a baking pan/ tray 20x8x8cm
- Flour 400g
- Water 240-260g (20-25 degrees)
- Sourdough starter 200g
- Salt 10g
Preparation:
1. Put all the ingredients together in a mixing bowl, and mix for one or two minutes, until everything is roughly combined.
2. Wait 30 minutes!
3. After 30 minutes, do the first set of stretches and folds. <see video> Wet your fingers with a little water to prevent them sticking to the dough, put your fingers under the dough, lift it up and stretch one side of the dough and then fold it back on itself, into the middle of the bowl. Turn the bowl 90 degrees, and repeat about eight to ten times in total, until you feel the dough has tightened up. Turn the dough so the seam is at the bottom and the smooth side is face up.
4. Wait another 30 minutes!
5. Repeat this stretching and folding process three or four times, with 30 minute breaks in between, over a period of two hours. Then leave the dough to continue to rise until it has doubled in size.
6. The dough should take around four to five hours to rise. By the end of this period, it should feel puffy, elastic and have air bubbles visible on top. Once it has reached this stage, it is ready for shaping.
7. Grease a baking tray? with a little oil or butter. Take your piece of dough and shape it into a round ball with your hands, once again pulling the sides into the middle, to give it one last tightening. Leave it to rest for 15 to 20 minutes with the smooth side on top.
8. Dust the surface of the dough with a little flour, and turn it over so the dusted side is face down on the table. Fold 1/3 of the dough inwards, then fold the other side over it. Then roll the dough from the top downwards, tightening it with each turn , and place into the baking pan/ tray with the seam? on the underside.
9. Leave the dough to rise for two to three hours at room temperature, or you could leave it overnight in the fridge covered with cling film. It is ready to bake once the dough has almost filled the pan. It will rise again in the oven, so don’t let it rise too much above the sides of the tray.
10. Heat the oven to 250 degrees, and place an empty baking tray at the bottom and a rack in the middle. Let the oven heat for at least 20 minutes, to make sure it has reached the right temperature.
11. Slash the top of the loaf with a razor or bakers’ blade or knife, place the baking pan/ tray on the rack in the middle of the oven, and pour 1 cup of water into the tray lower down in the oven, to create steam. Close the oven quickly to trap the steam inside.
12. Bake for five minutes at 250 degrees, then lower the temperature to 200 degrees. Bake for another 30 to 40 minutes, turning halfway through. The bread is cooked when it’s slightly browned and it sounds hollow when you tap it underneath with your finger.
13. Leave to cool down on a pastry grill before slicing.
Hope you liked this recipe. If you tried it at home, please let us know how it went, we can't wait to see pictures of your sourdough bread. Otherwise, you can find this recipe in Romanian here: Pâine de casă cu maia.


